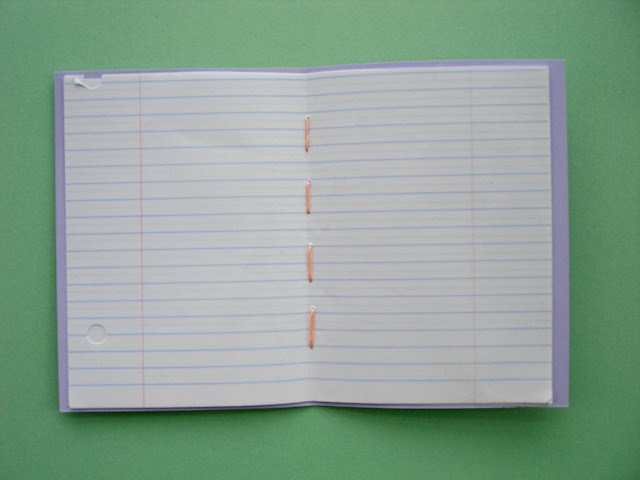
The process I use to make these journals is very easy and relaxing. In fact, it will hardly take any brainwork at all. The best part though, is that you can personalize them according to your own unique style. I love using pretty little stickers, quotes, and ribbons to accessorize mine, but you can do whatever you want! I hope you'll enjoy creating these as much as I did. Let's get started.
What You'll Need:
- Scissors
- Embroidery thread and needle
- Card stock (or any thick paper)
- Patterned tape
- Paper (lined, graph, plain, etc.)
Step One: Cut paper and card stock to desired size (the example above is 8.5"x 5.5"), align them together, and then fold in half.
Step Two: Using the needle and embroidery floss, stitch through the middle of the journal, leaving the ends free on the outside.
Step Three: Finish off by applying tape along the outer edge, making sure to hide the embroidery floss.
Step Four (Optional): Accessorize with stickers and ribbon and you're done!
What are some ways you're planning to decorate your own journals?
I'd love to hear about all the unique styles everyone can bring to this project.
Happy crafting,
Kelly
What are some ways you're planning to decorate your own journals?
I'd love to hear about all the unique styles everyone can bring to this project.
Happy crafting,
Kelly


Kelly,
ReplyDeleteMy aunt led me to your blog. :-)
I love to create my own journals too! I usually just take a composition book and cover it in scrapbook paper and then add stickers, sequins, felt cut-outs, etc. I have a blog too, but mine isn't really for crafting stuff. Its more for school-type stuff. Here is a link to it.
http://our-homeschooled-life.blogspot.com/
Savannah