Using an old pair of denim jeans, you can create your own cute owl purse! Wear it out and about with anything and you'll look and feel great. The soft felt accents create unique colors that pop against the casual denim material. Use it to carry all your necessities including your wallet, notes, makeup, and phone.
Sit down and relax while creating this easy project. Most of the materials you'll need for this are probably laying around somewhere near you. For the denim, I recycled an old pair of jeans that I didn't wear anymore. If you don't have any felt, you can choose to experiment with different fabrics and textures. This project is so carefree, anything you do will look great!
What You'll Need:
 |
| Click to Print |
- Free Printable Owl Template
- Denim or old pair of jeans
- Felt
- Embroidery floss and needle
- 2 Buttons
- Scissors
- Sewing Pins
- Ribbon
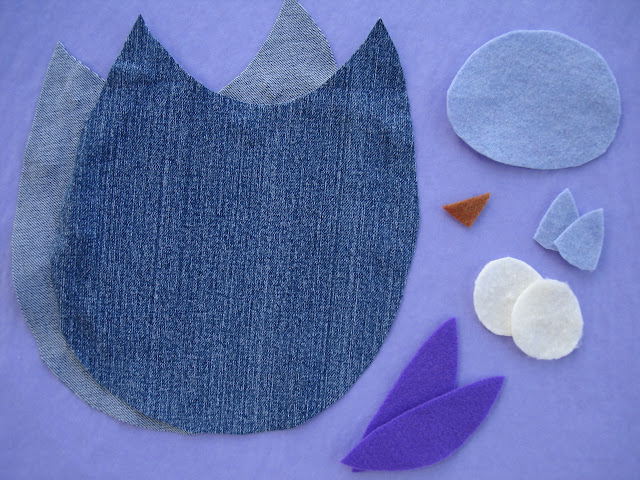
Step One: Click and print my free Owl Template. Cut out all the pieces with scissors. Using sewing pins, secure the body cutout to two pieces of denim with wrong sides together. Pin the rest of the cutouts to the felt. The number on the cutouts corresponds with the number of pieces you will need to pin together.
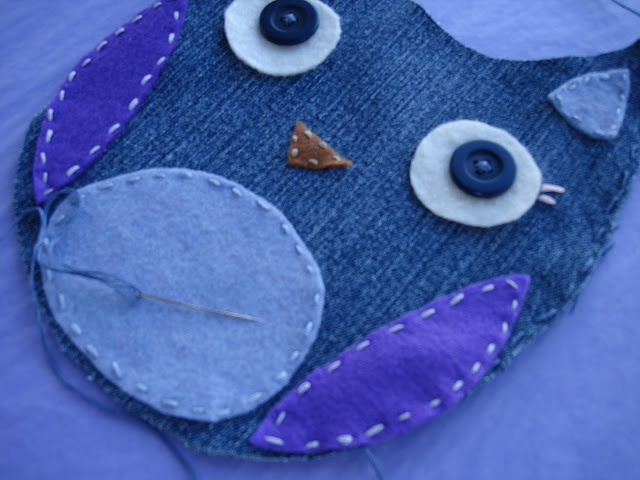
Step Two: Using scissors, cut around all the templates. Remove the pins and template.Step Three: Choose one piece of the body to be the front and the other the back. Layer the buttons and eyes on the body. Using embroidery floss, sew the eyes and button to the denim.
Step Four: Layer the pieces of felt onto the front of the body into desired position. Using embroidery floss, appliqué the felt on using a basic "under over" stitch.
Step Five: Using embroidery floss, create eyelashes. Tie a piece of the ribbon into a bow and stitch it on to the side of the head.
Step Seven: Use a strip of denim to create the shoulder strap. Make it as long or short as you want. Stitch it to the inside of the bag, by the ears. For a sturdier and more finished looking strap, use the inseam of a pair of jeans.
After you're done creating this easy denim owl purse, come back here and share what you've made!
Have fun,
Kelly


